UKCA Chemistry and Aerosol vn10.9 Tutorial 3
UKCA Chemistry and Aerosol Tutorials at vn10.9+
When using the UM, it is likely that you will want to add new diagnostics, and we will cover writing out chemical fluxes in a later tutorial. Here we will cover selecting new diagnostics in STASH.
Task 3.1: add new output
TASK 3.1: Output the daily-mean UKCA CO (section 34 item 010) field to the UPA output stream, and then add-in the equivalent diagnostic on pressure levels using the DP27CCM domain.
| Hint |
|---|
| You will need to remember to run the TidyStashTransform macro once you have added the diagnostics in the STASH panel. |
In the following page you will learn more about how the Unified Model's output is organised and managed. You should use this information to complete the task above. A worked solution is provided at the end of the tutorial.
What is STASH?
STASH is the Unified Model's storage handling and diagnostic system. It is designed to cope with the many different configurations that the UM can be used in, but still provide output in a consistent and standard way. A full technical description of STASH can be found in Unified Model Documentation Paper C4 which can be downloaded from the Met Office Science Repository Service (password required).
Prognostic and Diagnostic Fields
The UM considers variables (or fields) to be of two different types, prognostic or diagnostic. Prognostic fields are ones which the model must have values for, prior to each timestep, as e.g. the equations of motion the model solves require these fields (these are fields such as specific humidity or potential temperature), so they must exist in the model start dump. Diagnostic fields are all other fields that are derived from prognostic ones, and as such the model does not need to have prior values for these. Ancillary files (such as emissions, SSTs etc) contain prognostic fields. UKCA requires around 137 prognostic fields in the GA7+StratTrop configuration, and could in theory provide almost 2000 diagnostic fields on model levels, many of which have pressure-level equivalents.
From a user's perspective, STASH is used to output fields during the run, and from this point of view it does not matter if these are prognostic or diagnostic fields. However, you will need to consider these differences when you add new chemical tracers.
STASH Sections and Items
Each field that is considered by STASH has a unique address which is given by a section and an item number. Prognostic fields are mostly held in section 0 (with the exception of tracers) and diagnostics are organised by areas of the code, e.g. short-wave radiation diagnostics are held in section 1, long-wave radiation diagnostics are held in section 2 etc. Some sections will always be on, and some sections will only be on if a certain process is selected, e.g. the interactive land-surface scheme. Each section can hold up to 999 items, where each item is a separate prognostic or diagnostic field, and can be either 2D or 3D.
Each field has its own entry in a STASHmaster file. There is a master list of fields which is held in the STASHmaster_A file, a copy of which is located in each branch at
rose-meta/um-atmos/vnX.Y/etc/stash/STASHmaster/STASHmaster_A
If you make changes to this, to add your own diagnostics, you will need to make changes to the
rose-meta/um-atmos/HEAD/etc/stash/STASHmaster/STASHmaster_A
file, and then change where Rose looks for the metadata associated with your suite. This will be covered in more detail when you add new chemical tracers.
The term HEAD here refers to the "head" of the branch. For any new branch at a particular model version (e.g. vn10.6) the STASHmaster_A file in HEAD and e.g. vn10.6 will (initially) be the same.
STASH Panel
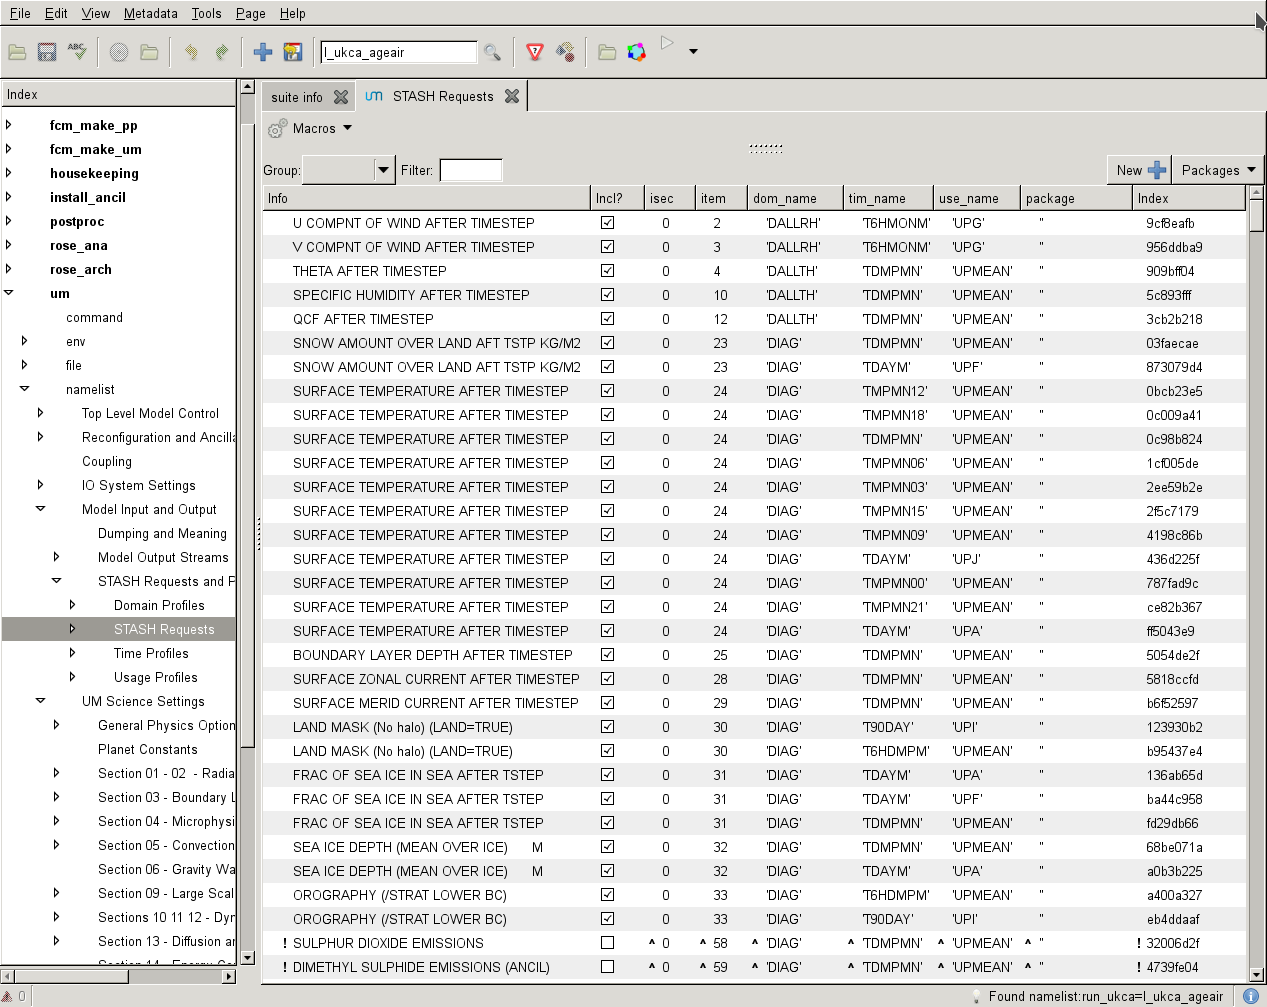
The STASH panel can be found at um namelist Model Input and Output STASH Requests and Profiles STASH Requests.
It is usually intially sorted by section/item numbers, but you can change the ordering by clicking on the items on the bar at the top (e.g. use_name). This can be helpful to see which items are going to which output stream.
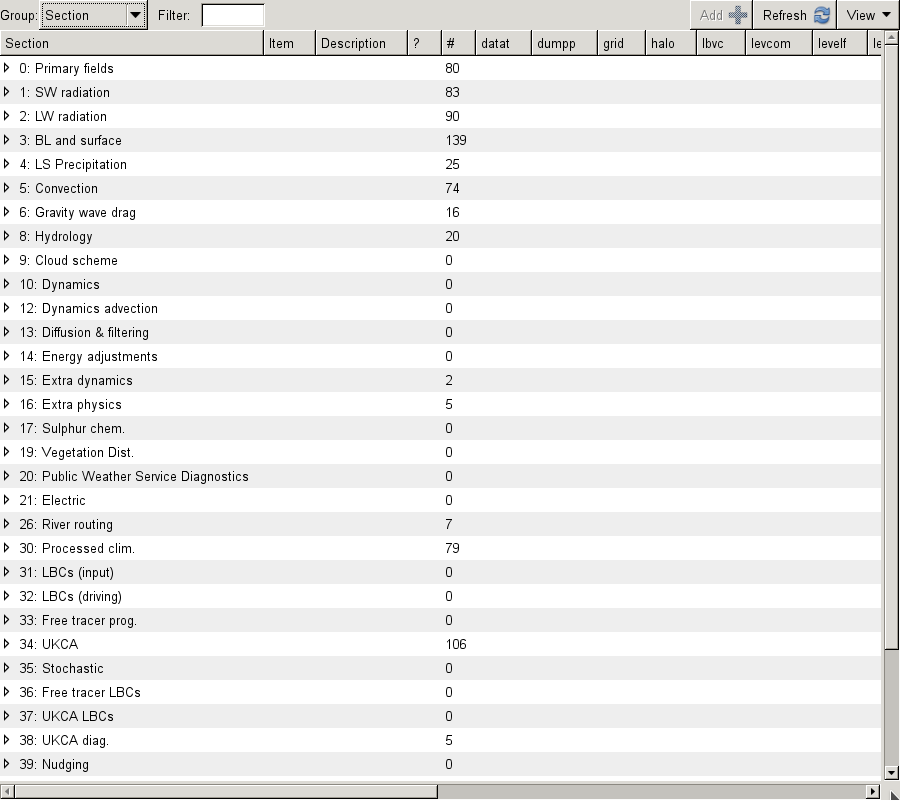
To add new output, click the New button (with the large plus symbol on it), and this will open the Add new STASH requests panel. This lists all the available STASH output by section. You can scroll down to the section you want, click the small arrow on the left, scroll down to the diagnostic that you want and either right-click on it and click Add STASH request, or select it and then click the Add button in the top right-hand corner of the panel.
Once this has been added to the main STASH panel, you will get a message, similar to Added request as namelist: streq(1). You will also find that a red warning triangle has appeared in the rose editor. This will disappear once you fill-in the dom_name, tim_name, and use_name entries for it. This can be done by clicking next to the red X that is in each column and selecting the correct value from the drop-down menu.
Once you have selected entries for each usage field, you will need to run the TidyStashTransform macro. When the STASH entry was created it was given the the namelist value streq(1). This is a default value, and the correct namelist index needs to be generated for each STASH item (each is unique to the choices made, which also prevents duplicate entries being created). To do this, click the Macros drop-down menu from the top-left of the panel and select the stashindices.TidyStashTransform option. This will process the STASH requests, and any entries where the index doesn't match will be listed. Click OK, and this will then apply the correct index to the request, which will be a string of seemingly-random letters and numbers.
UKCA STASH sections
UKCA actually has 6 STASH sections - these are:
- Section 34: This contains the prognostic UKCA variables on model theta levels, i.e. all the transported species, and several other fields which are required to be in the restart file.
- Section 37: This is for UKCA tracer lateral boundary conditions for use in limited area configurations.
- Section 38: This section is for GLOMAP-mode diagnostics on model theta levels.
- Section 50: This section is for Chemical diagnostics on model theta levels (or single levels, e.g. surface).
- Section 51: This section duplicates all the variables from Section 34, but on pressure levels. To use this section
l_ukca_chem_plevmust be set to true in the UKCA panel. Additionally, s51i999 must also be output, as this is the Heavyside function that is used to mask missing data from the pressure-level fields (as the UM fieldsfile format has missing data set to zero). - Section 52: This section duplicates all the variables from Section 50, but on pressure levels. To use this section
l_ukca_asad_plevmust be set to true in the UKCA panel. Additionally, s51i999 must also be output, as this is the Heavyside function that is used to mask missing data from the pressure-level fields (as the UM fieldsfile format has missing data set to zero).
Viewing Output
For more detailed plotting, tools such as the Iris and cf-python libraries can be used to view UM file formats directly. However, for quick viewing, Xconv is a very useful tool.
- Output files in 64-bit fieldsfile format can be found (on ARCHER) in
/work/n02/n02/$USER/cylc-run/[SUITE-ID]/share/data/History_Data- Files often have the following naming convention
[SHORT SUITE-ID]a.p[abcdefghijkmsyx]YYYYMMDD- e.g.
ag308a.pk19880901
- e.g.
To view these files, do
xconv ai084a.pk19880901
As well as viewing files, you can use Xconv to convert these files to netCDF, by filling in the Output file name: box (e.g. foo.nc), and then clicking convert. If no path is defined, this will save the file in the same directory that you opened Xconv from.
Solution to Task 3.1
You were given the task
- Output the daily-mean UKCA ozone (section 34 item 001) field to the UPK output stream, and then add-in the equivalent diagnostic on pressure levels using the DP36CCM domain
and were given the hints
- You will need to remember to run the TidyStashTransform macro once you have added the diagnostics in the STASH panel.
For a working Rose suite that has completed this task, please see u-@
The specific Rose changes made are:
These differences can be found here:
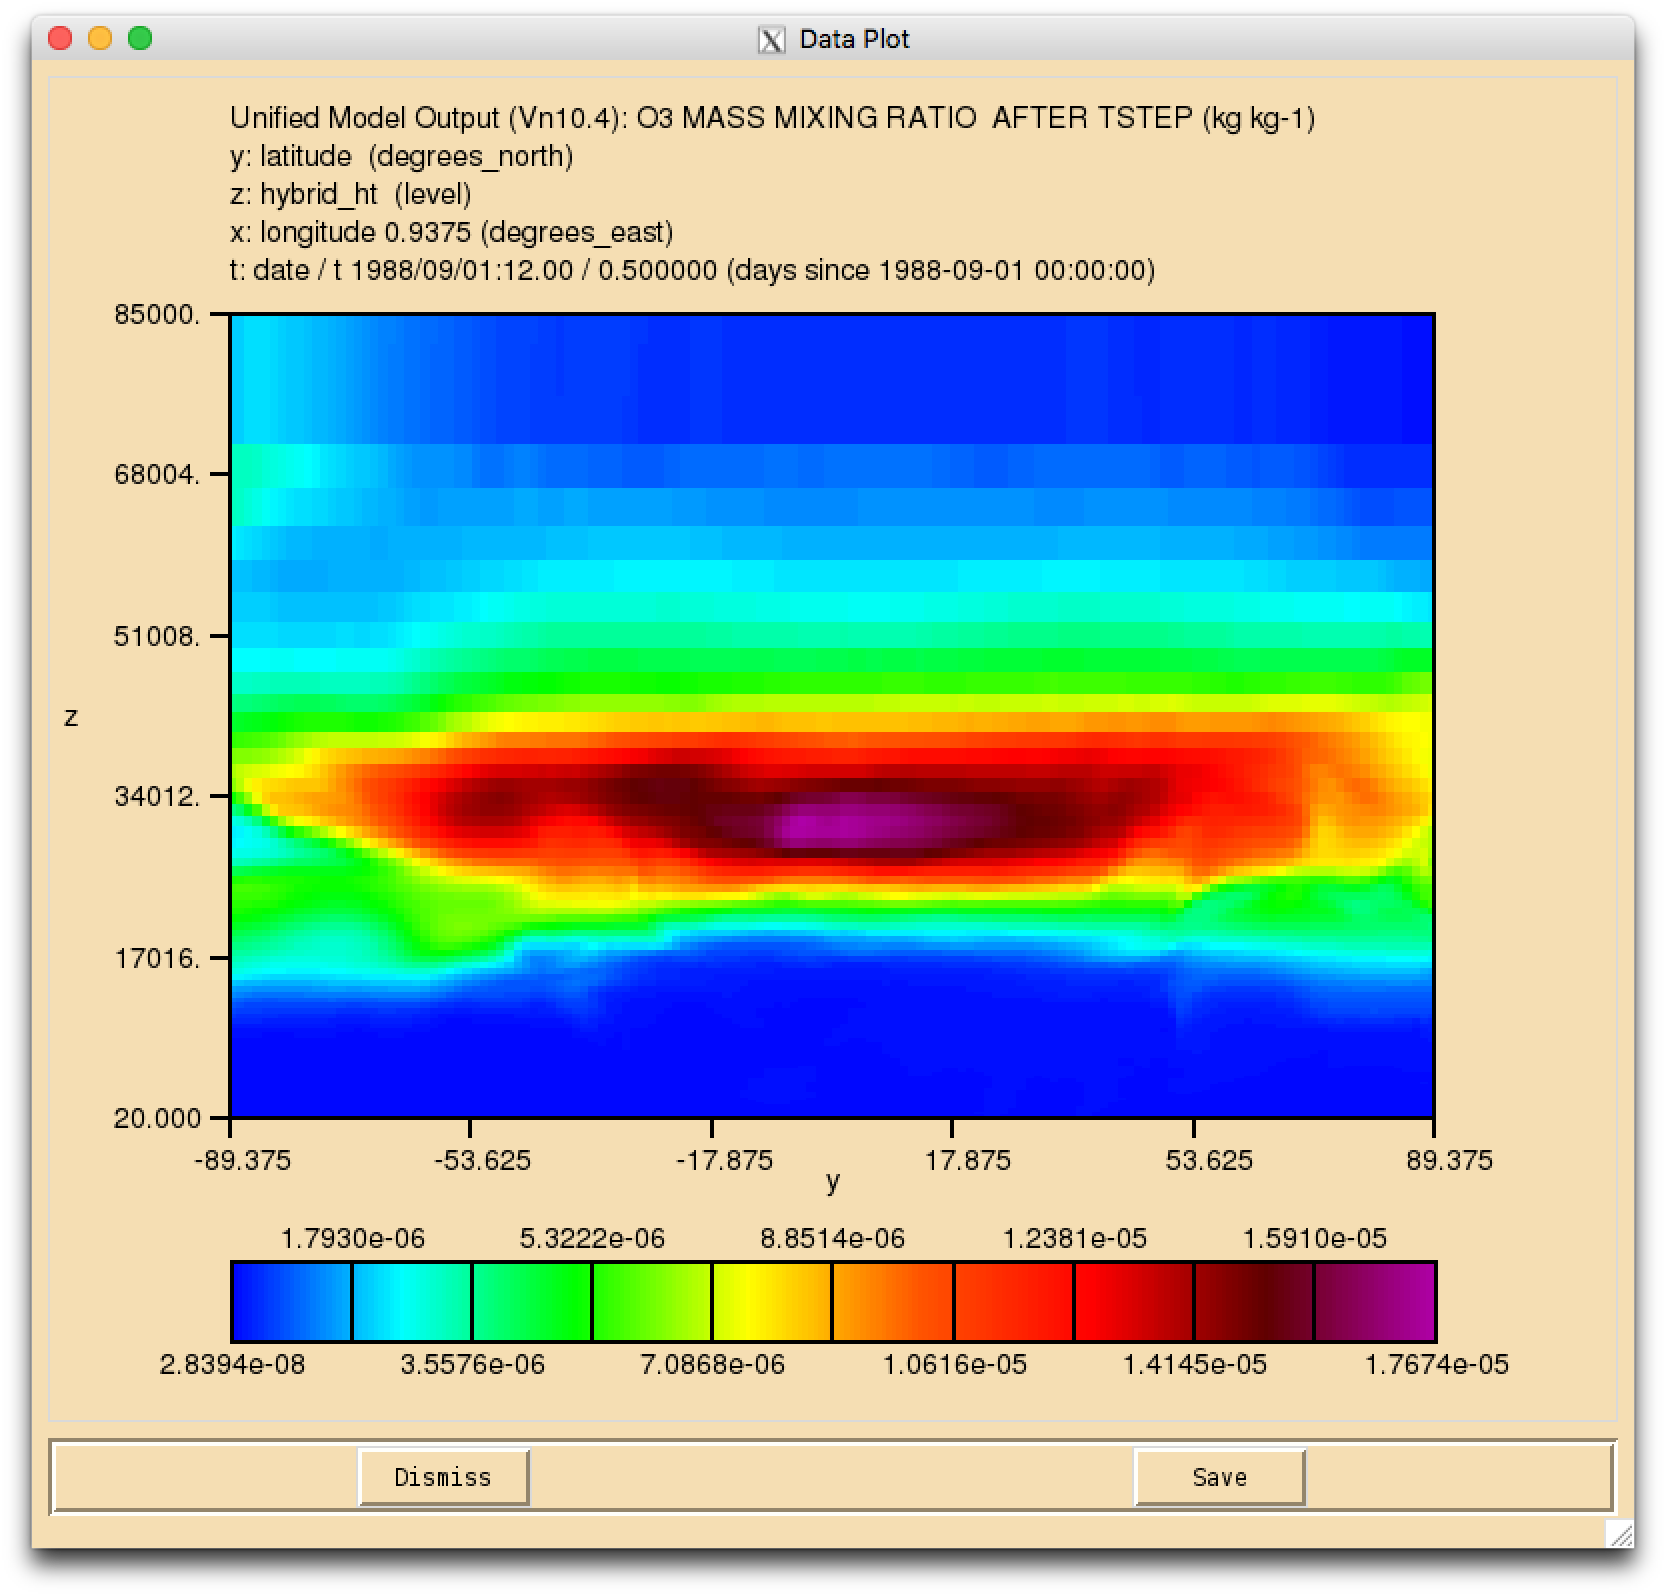
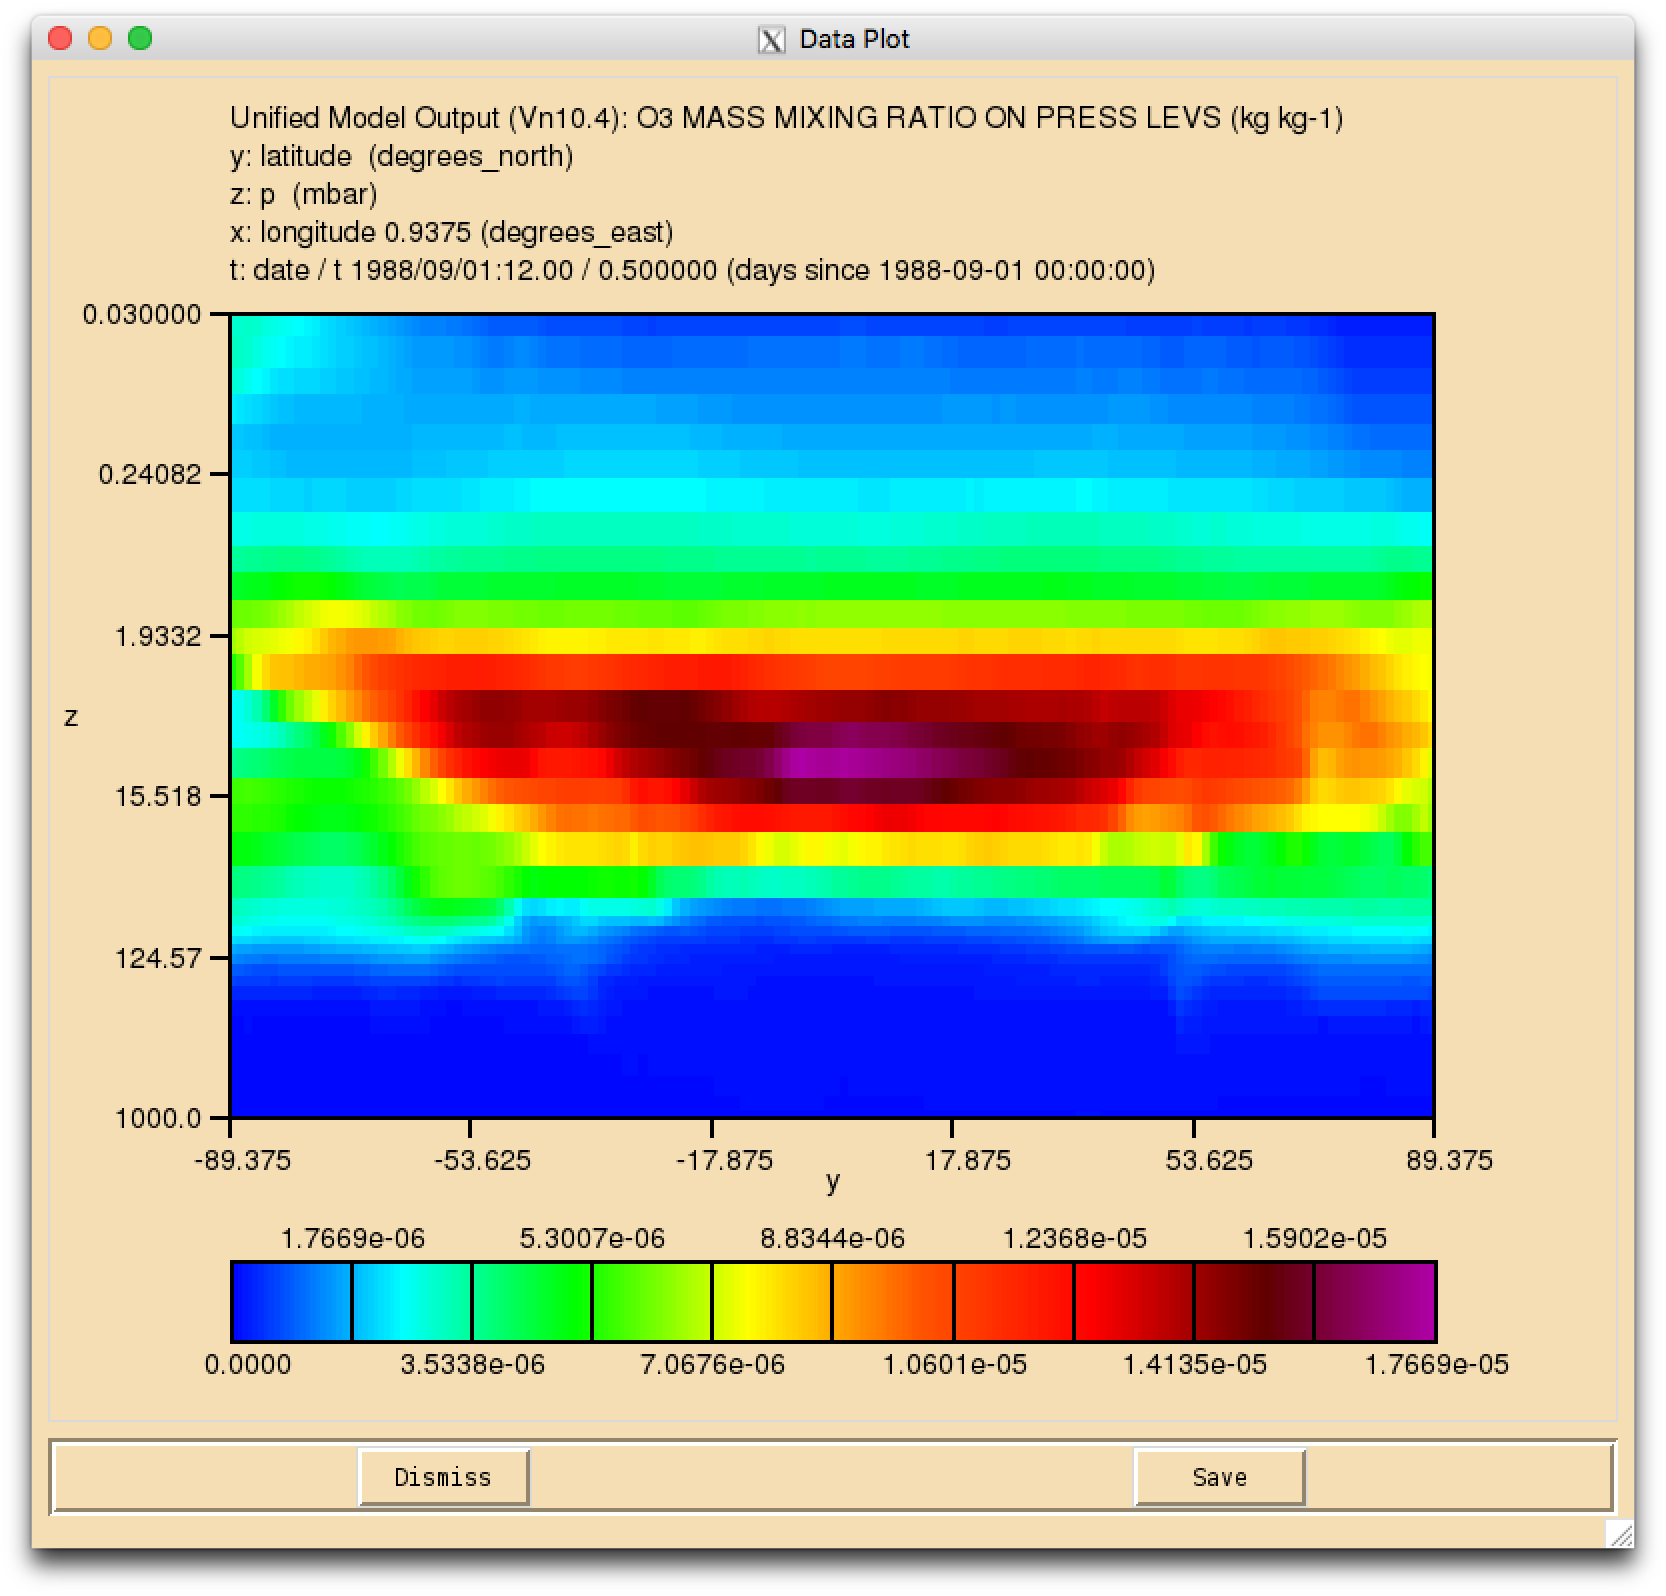
If you open the .pa file in Xconv, you should see the following fields:
 0    : 192   144   36    1     O3 MASS MIXING RATIO
 1    : 192   144   36    1     Molar flux density
 2    : 192   144   85    1     O3 MASS MIXING RATIO
Sample output from this task can be found at /work/n02/n02/ukca/Tutorial/vn10.4/sample_output/Task3.1/ai084a.pk19880901 on ARCHER.
Written by Luke Abraham 2016


